2015-03-23-start-developing-hue-on-a-mac-in-a-few-minutes.md 6.7 KB
title: Start developing Hue on a Mac in a few minutes! author: admin type: post date: 2015-03-23T20:06:30+00:00 url: /start-developing-hue-on-a-mac-in-a-few-minutes/ sf_thumbnail_type:
- none sf_thumbnail_link_type:
- link_to_post sf_detail_type:
- none sf_page_title:
- 1 sf_page_title_style:
- standard sf_no_breadcrumbs:
- 1 sf_page_title_bg:
- none sf_page_title_text_style:
- light sf_background_image_size:
- cover sf_social_sharing:
- 1 sf_sidebar_config:
- left-sidebar sf_left_sidebar:
- Sidebar-2 sf_right_sidebar:
- Sidebar-1 sf_caption_position:
- caption-right sf_remove_promo_bar:
- 1 categories:
- Development
You might have already all the pre-requisites installed but we are going to show how to start from a fresh Yosemite (10.10) or El Capitan (10.11) install and end up with running Hue on your Mac in almost no time!
We are going to be using the official Quickstart VM from Cloudera that already packs all the Hadoop ecosystem components your Hue will talk to. If you don’t have the latest already downloaded and running, please visit this link and choose the versions that suits you the best.
In the meanwhile, let’s set up your Mac!
Step 1: Clone the Hue repository
To clone the Hue Github repository you need git installed on your system. Git (plus a ton of other tools) is included in the Xcode command line tools. To install it open Terminal and type
{{< highlight bash >}}xcode-select -install{{< /highlight >}}
In the dialog choose "Install". If on Terminal you have the message "xcode-select: error: command line tools are already installed, use "Software Update" to install updates" it means you are almost good to go already.
From Terminal, navigate to a directory where you keep all your project and run
{{< highlight bash >}}git clone https://github.com/cloudera/hue.git{{< /highlight >}}
You now have the Hue source code in your Mac.
Step 2: Install Java
The build process use Java to run. A quick way to get to the right download URL from Oracle is to run from Terminal
{{< highlight bash >}}java -version{{< /highlight >}}
and then click on the "More info" button on the dialog that appears. On Oracle's website, accept the license and choose the Mac OS X JDK link. After the DMG has been downloaded, open it and double click on the installation package. Now, if we return to the Terminal and type again
{{< highlight bash >}}java -version{{< /highlight >}}
we will have the version of the freshly installed JDK. At the time of writing, 1.8.0_40.
Step 3: Install the pre-requisites
Hue uses several libraries that are not included in the XCode command line tools so we will need to install that too. To do that we will use Homebrew, the fantastic open source package manager for Mac OS X. Install it from Terminal with
{{< highlight bash >}}ruby -e "$(curl -fsSL https://raw.githubusercontent.com/Homebrew/install/master/install)"{{< /highlight >}}
You will need to enter your password to continue. Then, as suggested by the installation script, run
{{< highlight bash >}}brew doctor{{< /highlight >}}
If you already have Homebrew installed, just update it running
{{< highlight bash >}}brew update{{< /highlight >}}
As a first thing, we need to install Maven 3
{{< highlight bash >}}brew install maven{{< /highlight >}}
And then Mysql to have the development libraries for it
{{< highlight bash >}}brew install mysql{{< /highlight >}}
This will install also lib-openssl. Let's go on install GMP
{{< highlight bash >}}brew install gmp{{< /highlight >}}
Step 3b (just for El Capitan and Sierra): export ENV variables for openssl
If you have OS X El Capitan or macOS Sierra, you need an extra mini step to be able to make Hue:
{{< highlight bash >}}export LDFLAGS=-L/usr/local/opt/openssl/lib && export CPPFLAGS=-I/usr/local/opt/openssl/include{{< /highlight >}}
Step 4: Compile and configure Hue
Now that we are all set with the requirements we can compile Hue by running
{{< highlight bash >}}make apps{{< /highlight >}}
from the Hue folder that was created by the git clone in step 1. After a while, if everything goes as planned, you should see as a last build message something like "N static files copied to ...".
Hue comes with a default configuration file that points all the service to the local machine. Since we are using a VM for this purposes, we will need to change several conf lines. For your convenience, we have the file readily available here.
Just copy this file over to your hue/desktop/conf folder!
Step 5: Configure your /etc/hosts
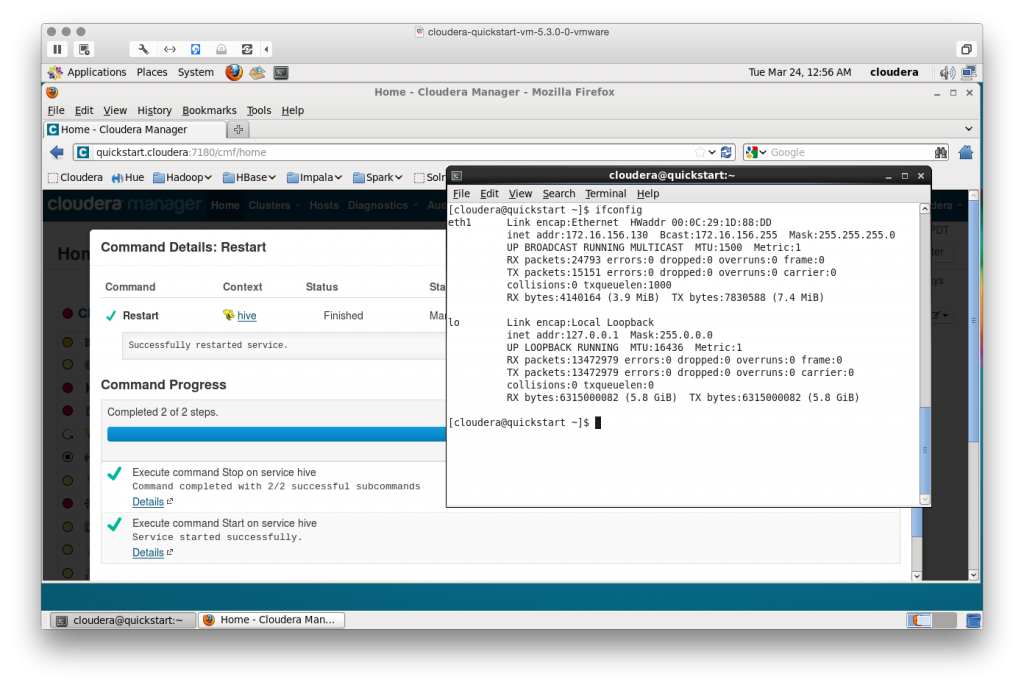
The last thing we should do is to start the Quickstart VM and get its IP address
(you can launch the terminal inside the VM and run 'ifconfig' for that; in my case it's 172.16.156.130). Then, on your Mac, edit the hosts file with
{{< highlight bash >}}sudo vi /etc/hosts{{< /highlight >}}
and add the line
{{< highlight bash >}}172.16.156.130 quickstart.cloudera{{< /highlight >}}
with the IP you got from the VM. Save and you are good to go!
Step 6: Run!
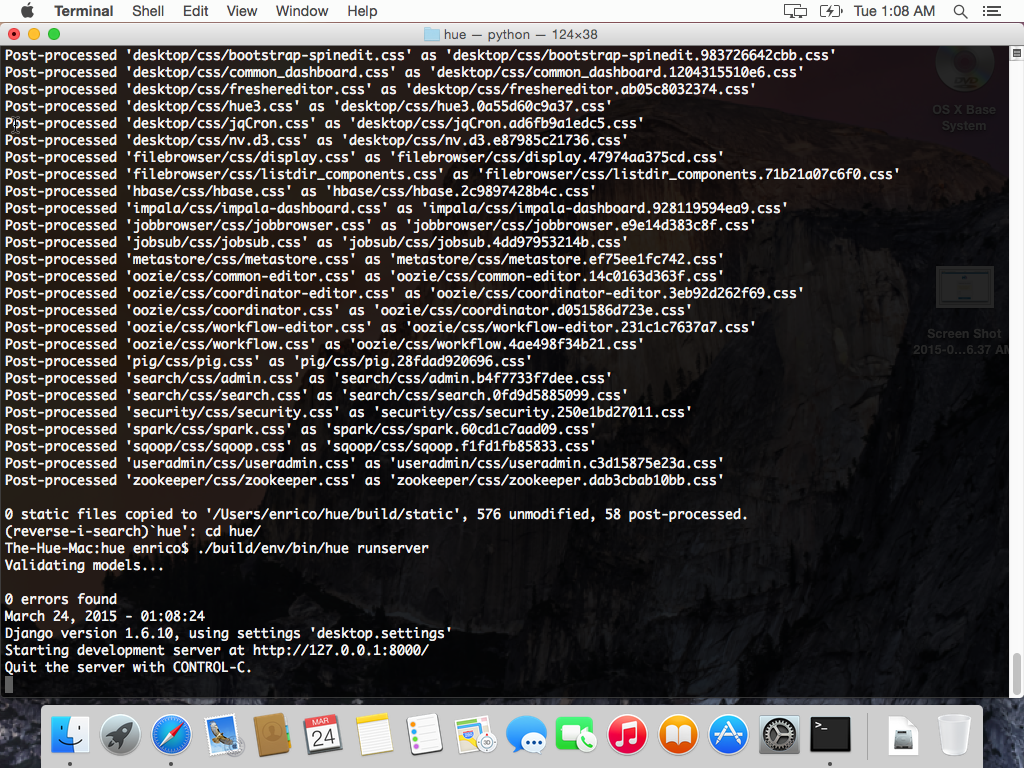
What you have to do on Terminal from the Hue folder is just
{{< highlight bash >}}./build/env/bin/hue runserver{{< /highlight >}}
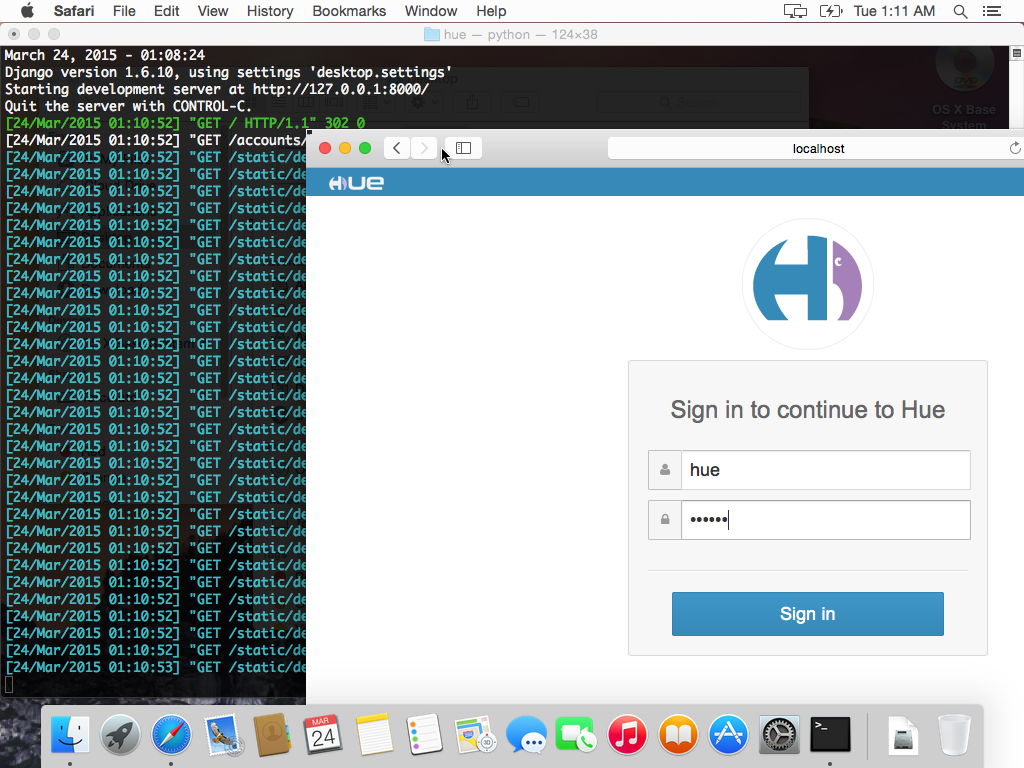
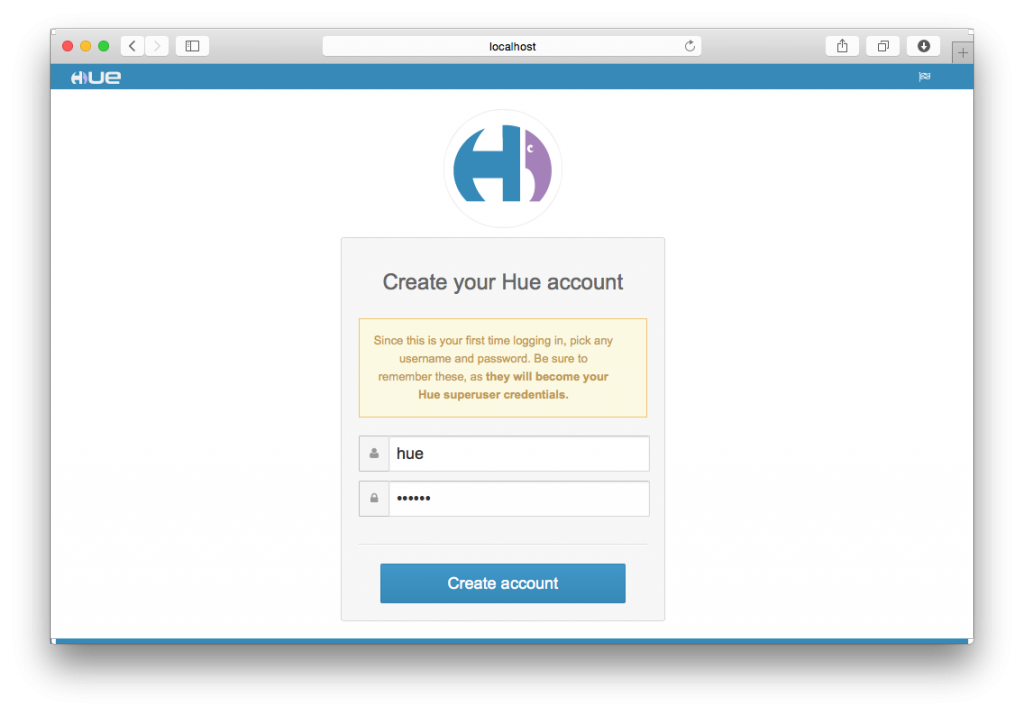
And point your browser to http://localhost:8000! Go and write a new app now! 🙂
As usual feel free to comment on the hue-user list or @gethue!


